Recipes POST HERE

Pickled Red Onions (Cebollas en Escabeche de Naranja Agria)

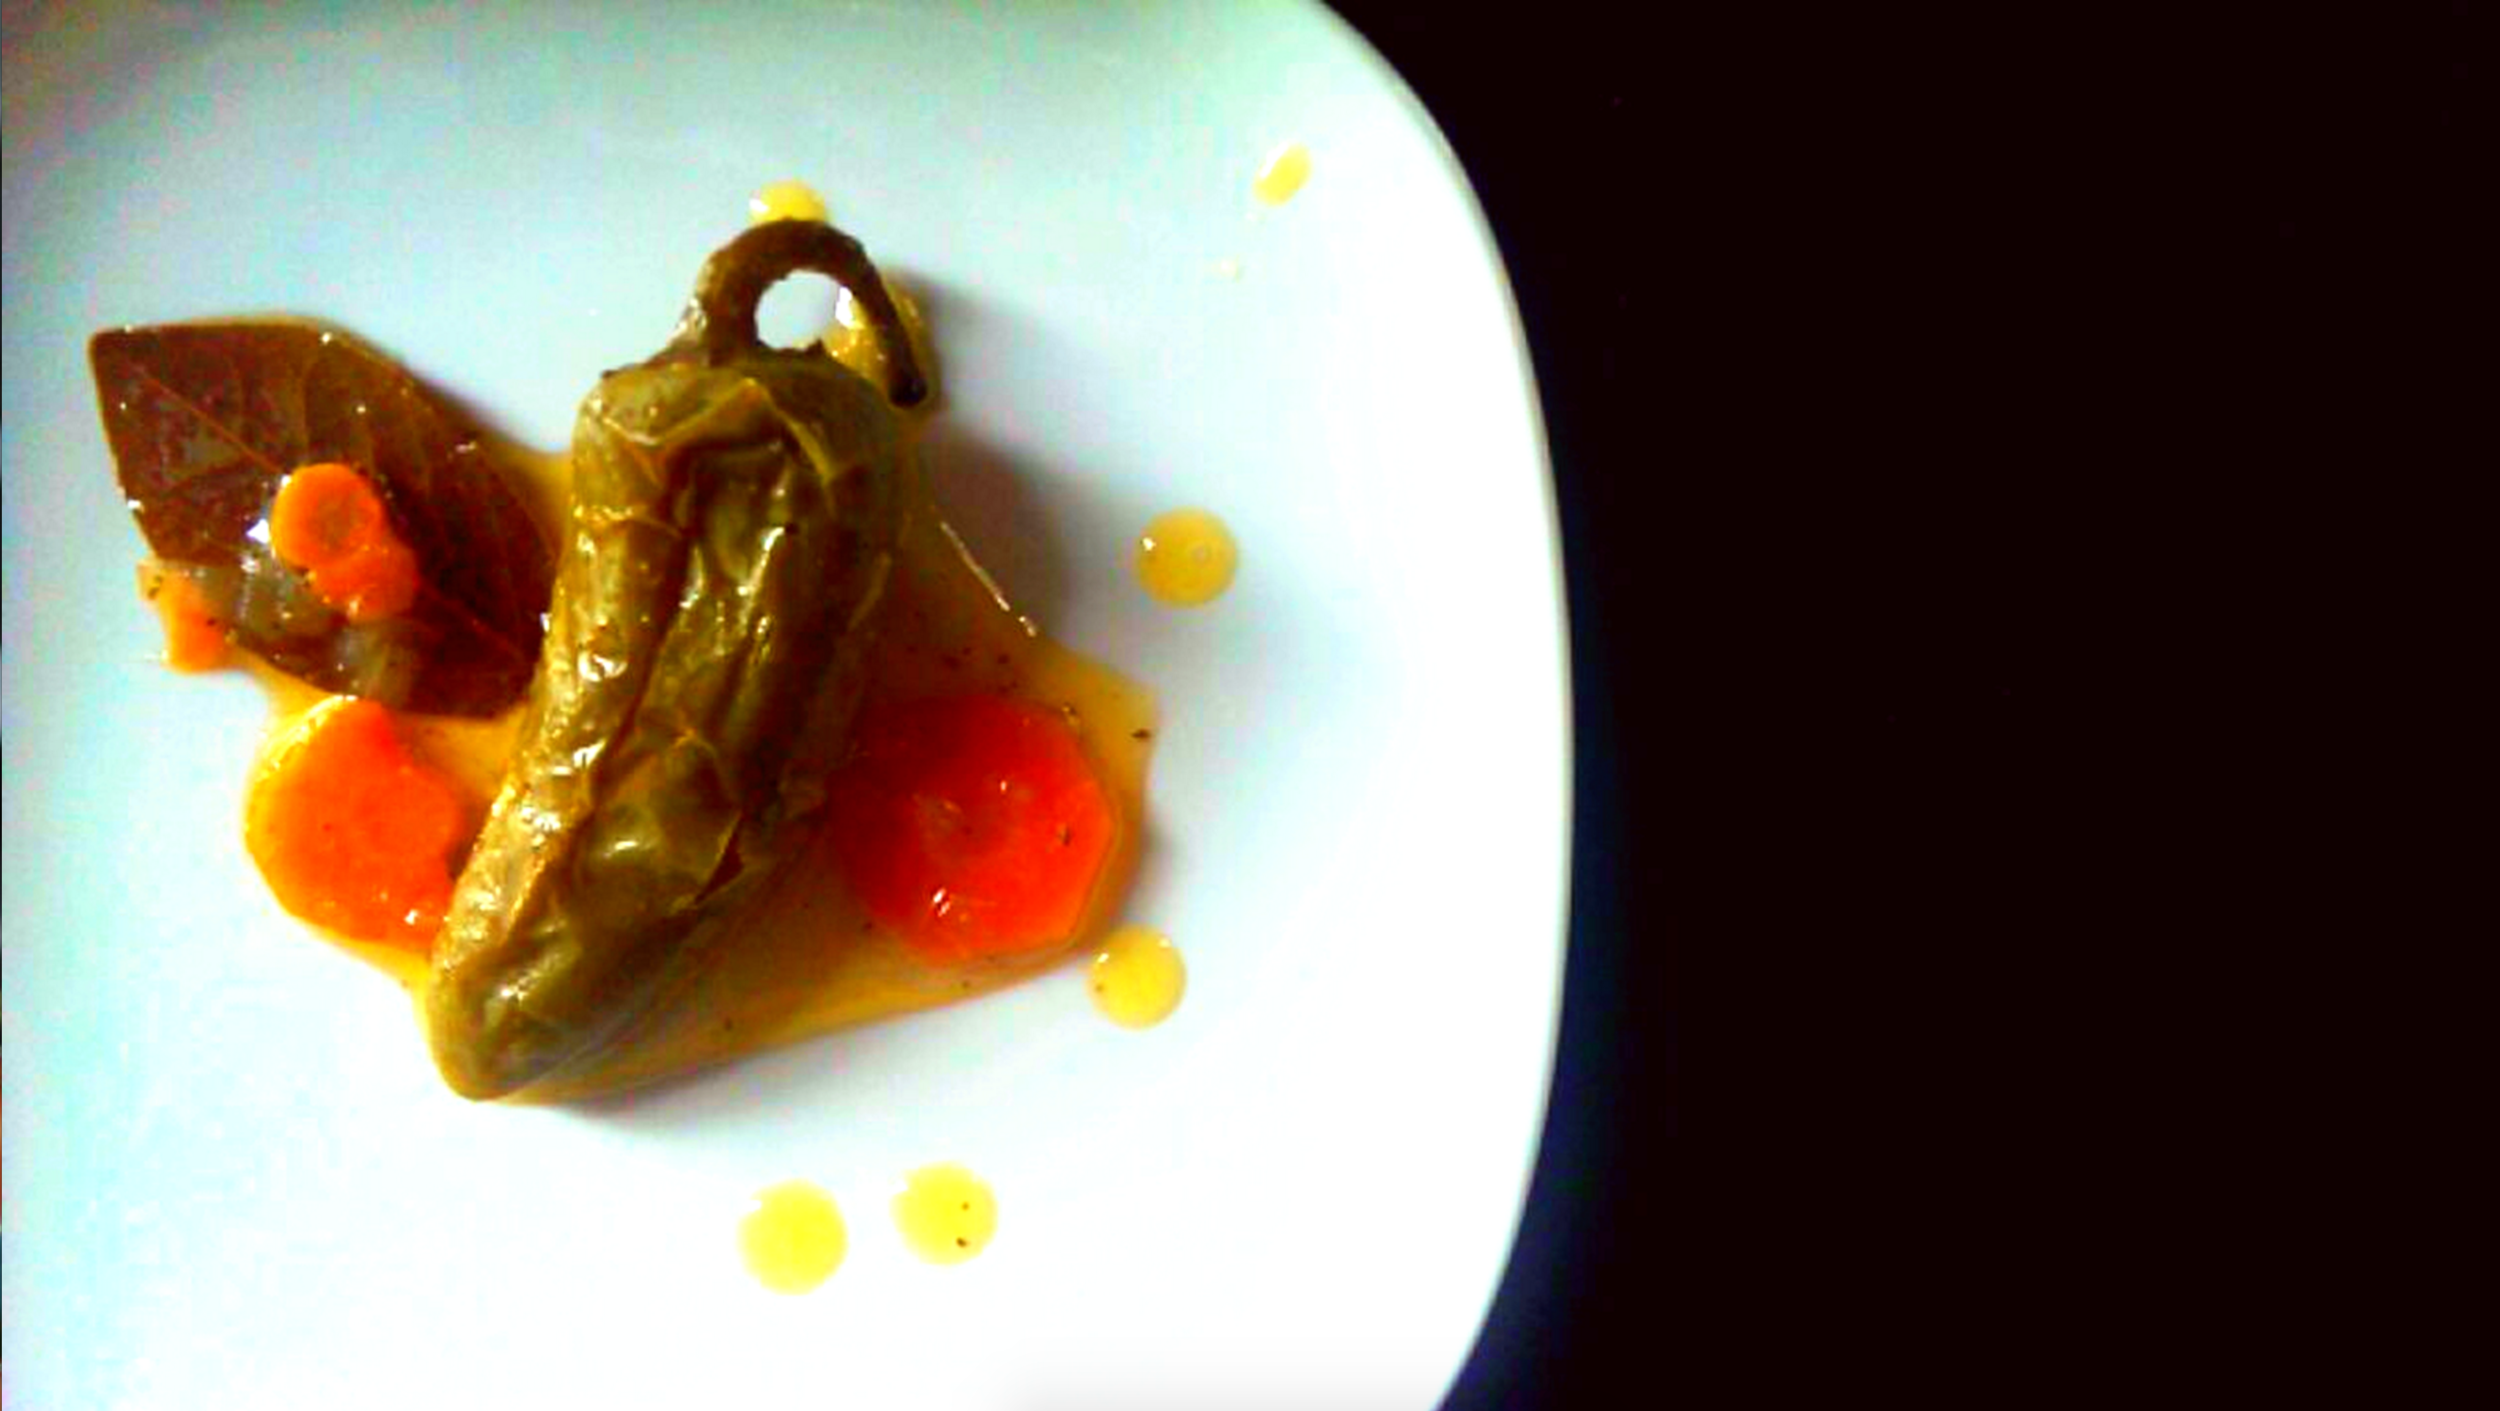
When I was last in Tulum, Mexico I found that most plates were served with these delicious red onions as a topping and honestly they made everything so delicious!  There were several variations from fresh, to spicy, pickled in vinegar, etc. but I loved the fresh ones the best.  They were added to everything and sometimes even served on the side so you could continue adding them as you desired.  Traditionally, they are mostly for meat plates like cochinita pibil or to be served with seafood but I found that they brighten up even vegetable dishes.  The secret ingredient in this recipe is bitter orange.  I often pickle my onions with lime juice, as you have seen before in my recipes, but there is something so special about bitter oranges that I cannot describe when paired with a red onion.

Some groceries stores do carry bitter oranges but just in case you can’t find them look for the juice that is bottled.  I have tried this recipe with both fresh and bottled juice and it’s delicious either way.  Obviously, always go for the fresh bitter oranges but if you can’t find them settle for a good quality bitter orange juice.

So here is a super simple recipe on how to make them so you can add them to everything!

Yields approximately 1.5 cups

Ingredients:
1/2 red onion
1 cup bitter orange juice
1 teaspoon black pepper
1 teaspoon sea salt
1/2 teaspoon of oregano
1/2 of habanero pepper, thinly sliced (optional)

- Remove the skin from your red onion and thinly slice

- Place the red onion in a bowl and add the black pepper, sea salt, oregano, habanero (optional) and bitter orange juice.

- Allow the onions to pickle for at least 1/2 hour.  That’s it!

Click Play to Watch Step by Step Video

Xoconostle Pico de Gallo

In my part of Mexico, where cacti grow abundantly, we eat so much of what a cactus has to offer.  Not only do we eat the cactus pod, the sweet fruits like tunas and pitayas, but also the sour fruit called xoconostles.  Pronounced hoko-nose-leh.

Xoconostles have been used for thousands of years and they are finally making their way into Mexican markets all overUnited States. They look something like this:

During my dad’s recent visit to Mexico, he brought me back some extremely fresh xoconostles.  I am trying to be gentle with them and make them last because there is nothing like wild xoconostles from my village.

The recipe I show you today is one of the most simple ways to introduce anyone to this sour fruit: Pico de Gallo.  A dimension of sourness that’s unlike any other, will be added to this pico by the xoconostle. Be prepared, you’re going to love it!

Yields approximately 2 cups

Ingredients:
6 xoconostles
1/3 cup chopped white onion
1/3 cup chopped cilantro
1/4 cup cilantro
6 dried chiles de arbol
1 lime
Salt to taste

- Cut the ends of the xoconostles and peel completely.
- Now you have to remove the seeds. Cut xoconostles in half. Using a small spoon remove the seeds.

- Chop the xoconostles and mix with the other chopped items in a bowl.
- Using a molcajete, mortal and pestle, or spice grinder grind the chiles de arbol into flakes. Add the flakes to the other items.
- Lastly, add the juice of the lime and salt to taste (approximately 1/2 teaspoon).

Now you can eat this pico de gallo as you would any other pico. Add it as a topping for tacos, salads, burritos, etc. My favorite way to eat it is on top of a nice bowl of frijoles de la olla with some small pieces of corn tortilla mixed in there. You can find my recipe for these Mayocoba beans here.

Provecho!


Feel free to post your comments or questions.

All content © 2013 AdrianaGuillen.com All rights reserved. You may not take any images or content from this site without written permission.

Jalapeños en Escabeche

My lovely mom always tells me the story of a time when I was three years old and she took me to the doctor.  I was ill with some sort of stomach problem and the doctor put me on a medication.  My mom almost embarrassed asked the doctor “Can she eat chiles with this medication?” Laughing, the doctor responded “Like a good Mexican, she can’t eat unless she has her chiles.” In the end I was able to eat my chiles, thank goodness, but I don’t think that it was normal for me to love chiles at three years old.

Obviously, my love for spicy foods began at a very early age and this love has never ended. I specially love pickled jalapeños and there is nothing better than making them at home. Allow me to share this amazing recipe for Jalapeños en Escabeche.

Yields: approximately 1, 28 oz jar

Ingredients:
10 jalapeños
1 small onion
1 small carrot
5 cloves of garlic
10 peppercorns
2 cloves
4 bayleaves
1 tablespoon of brown sugar
2 teaspoons of salt
1 cup white vinegar
1 cup water
1/3 cup corn oil

- Wash jalapeños throughly. Using a toothpick make several small holes on every jalapeño. This will allow all the flavor to really penetrate each pepper.
- Thinly slice carrots into 1/8 of an inch slices.
- Thinly slice onions as well.
- In a pot, add oil and jalapeños, cooking under low heat. Make sure to stir often. What you are trying to do is slightly fry the jalapeños before they pickle in the vinegar. This method allows the natural oil from the peppers to be released intensifying the flavor.
- After about 5 minutes add your carrots and onions.
- Fry all ingredients for about another 5 minutes.
- Turn off heat and add water, vinegar, and all the spices.
- Transfer on to a glass jar and let it cool down.
- Once everything has cooled down, keep in your refrigerator for at least 3 days without opening. All of the flavors will intensify. If you try to eat them before they will be too acidic.
- Now they are ready to eat!

This will be more spicy than your regular store bought jalapeños but a lot more flavorful.

Moreover, if you want to can these peppers all you have to do after you pour the contents in the jars and close the lids is:
- Boil the jars
- Remove and cool until you hear the pop-pop-pops of the seals forming.

Enjoy!


Feel free to post your comments or questions.

All content © 2013 AdrianaGuillen.com All rights reserved. You may not take any images or content from this site without written permission.

Photos by Adrian Davila

Salsa Taquera

This salsa is my favorite for a delicious simple bean and cheese burrito. However, it’s great on all tacos, hence the name.

Yields Approximately: 2 cups

Ingredients
- 5 tomatoes (very ripe)
- 8 Puya chillies
- 1 clove of garlic
- 2 teaspoons of cumin
- 1/2 teaspoon of oregano

- On a medium hot skillet, roast tomatoes. Making sure that you are cooking the tomatoes as well as roasting. Do this by rotating them and roasting on all sides.
- Boil about 2 quarts of water and hydrate the puya chiles for about 5 minutes.

- Once tomatoes are roasted remove from heat.
- Remove most of the blackened tomato peel.

- Place all tomatoes and chiles in blender. Add peeled garlic, cumin, and oregano and blend until smooth or desired consistency.
- Add salt to taste

All done!!


Feel free to post your comments or questions,.

All content © 2013 AdrianaGuillen.com  All rights reserved. You may not take any images or content from this site without written permission.

Salsa de Jitomate (Roasted Tomato Salsa)

Try this salsa on grilled tofu or for non-vegetarians on carne asada or any steak.

Yields Approximately: 2 Cups

Ingredients
-  5 large tomatoes (make sure they are perfectly ripened)
-  4 jalapeños
- Salt to taste

- On a medium hot skillet, roast tomatoes and jalapeños. Making sure that you are cooking the tomatoes as well as roasting. Do this by rotating them and roasting on all sides. Otherwise you end up with a raw tomato on the inside.

- Once roasted, peel tomatoes and jalapeños as much as possible leaving some of the roasted skin.
- Blend all until smooth and all salt to taste.

Can it get any easier? It sounds crazy to only use those ingredients, I know, but trust me it doesn’t need much else. Using simple ingredients is what makes a difference between an Americanized salsa and real homemade Mexican food.

Feel free to post your comments or questions.  

All content © 2013 AdrianaGuillen.com  All rights reserved. You may not take any images or content from this site without written permission.

Salsa Verde

- Remove husks from tomatillos and wash to get rid of sticky film.
- Boil about 1 quart of water water and add tomatillos and jalpeños.
- Once tomatillos and jalapeños are cooked through (7 to 10mins) remove from heat.
- Place all tomatillos and jalapeños in blender and blend until smooth or desired consistency.
- Add salt to taste

Another easy salsa!!

This salsa is great as a topping for food or you can sauté with a little bit of corn oil and add it to proteins. Perfect for pork carnitas.

Yields approximately: 2 cups


Ingredients
6 tomatillos (medium to large)
3 Jalapeños
Salt to taste


To add some more dimension chop some:
- White onions
- Avocado
- Cilantro
- Mix it all in and now you have an amazing Chunky Salsa Verde.

Salsa Roja

Yields: approximately 2 cups


Ingredients:
6 Tomatillos (12 if small)
7 Chiles Puya
1 Garlic
Salt to taste


Instructions:

- Remove husks from tomatillos and wash to get rid of sticky film.

- Boil about 1 quart of water and add tomatillos and dried chiles.

- Once tomatillos are cooked through (7-10mins) remove from heat. Chiles will be hydrated enough by this time also.

- Place all tomatillos and chiles in blender and add peeled garlic and blend until smooth or desired consistency.

- Add salt to taste

That’s it!!!

You have just made a delicious salsa roja! You can eat it with chips, use it as a sauce to sauté with proteins, whatever you want!